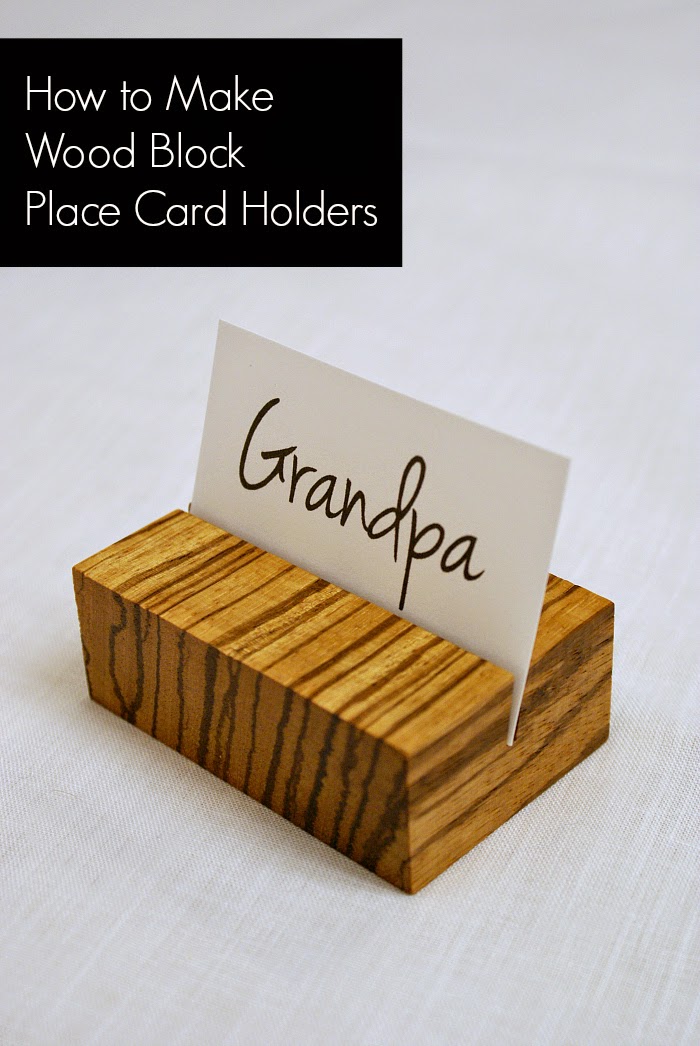
How to Make Wooden Place Card Holders

An Easy Woodworking Project for Kids and Adults.
This is a great little project as you can either get you kids involved or if you are just beginning a nice and easy project with just some basic tools.
The wood in this project was zebra wood which can be picked up at Lee Valley or online. Any wood would do and I would suggest for the first go round that you just grab something from your scrap bin. If something goes wrong, then nothing is lost as it is just scrap and you have learned a bit more.
One important point if you are going to make a few of these out of the same piece of wood is that you should measure and cut each one individually. If you try and measure them all before cutting, they will all be different length as you loose some wood to the saw blade.
Even if you use a Japanese saw, you will still loose some to the cut. So measure, cut, measure, cut, etc.
If you are doing this with your children they will have a great time because they get to use a saw that “cuts things”. Just make sure that they have protective gloves on as the blades are sharp and they are not always careful.
Place card holders are a great way to make dinner parties and gatherings feel extra special. These wooden place card holders could also be used for displaying business cards, notes or photos!
 Here are the suggested supplies needed to do this. You can get away with a lot less or if there is something on here that you don’t have, maybe now is the time to increase your tool stash. You can get away with the wood, pencil, saw, sandpaper and some finish. If you don’t have a square, then this would be your next purchase as you will use it for a lot of projects.
- scrap wood
- square and pencil
- wood working scribe
- backsaw (or table saw)
- bench hook
- extra fine sandpaper
- tack cloth
- rubber gloves
- sponge or soft cloth
- clear polycrylic finish
Click Here to see the plan at Urban Acerage…


